Categories allow your domains to be organized and easier to find and browse. The default category is “uncategorized” and domains will be placed there unless you select a different category. Before you can do that, you need to use the Categories Manager to create some categories.
Select Categories, then Show Categories to display a browsable and searchable table of all categories:
You can re-order the table by clicking on the headings:
Category – order alphabetically
# Listings – order by number of domains under each category
# Results Per Page – the number you enter will effect how many results are visible per page. This also affects the browsing of latest, premium, and on sale listings.
You can edit the categories with these icons:
The garbage can icon will remove the category but only if there are no domains listed under it. To remove any domains in the category you want to remove, use the pencil icon.
If there are any domains listed under a particular category, selecting the pencil icon will open the Domain Manager listing those domains.
The paper airplane icon opens up the controls to create a landing page that will be used on landing pages for all domains in that category.
Creating a New Category
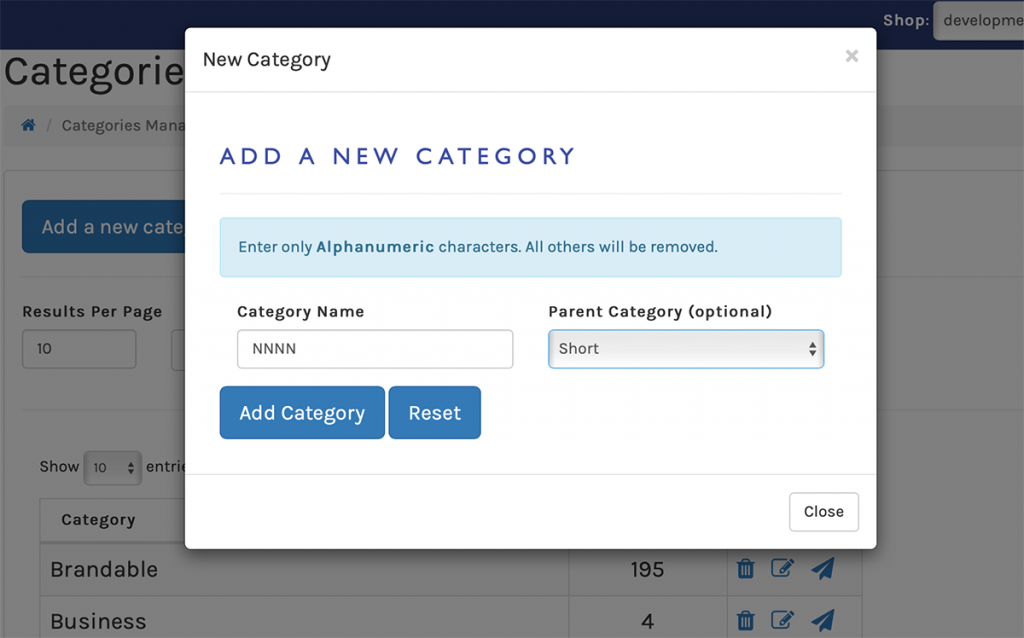
If you are certain that no category is already in the system that is the best match for your domain(s), then create a new category. Just select Add a new category button above the categories table. A modal will appear that looks like the one in this picture on the right.
It will only have 2 fields: Category Name & Parent Category (which is optional). Use Parent Category if you want to break up a big category into smaller sub-categories. Child Categories will appear as suggested categories in the marketplace front-end
*IMPORTANT NOTE: Avoid using the word domains (or domain) as it is repetative and is included automatically.